Verb Editor
The most useful tool of Narramancer is the NodeGraph editor used to manipulate verbs.
To open the NodeGraph editor window, double click on any Verb asset (ValueVerb or ActionVerb) OR select a Verb asset and click on ‘Edit Graph’ in the asset’s inspector.

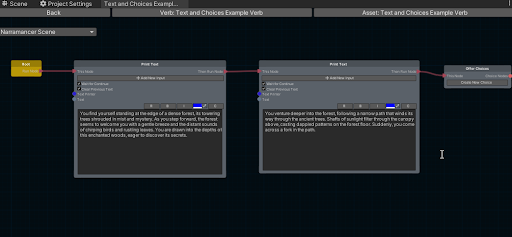
A screenshot of the Narramancer Verb Editor
Basic Controls
| Input | Effect |
|---|---|
| Mouse Scroll | Zoom In and Zoom Out |
| Press Middle Mouse Button and Drag | Pan Visible Area |
| Press F Key | Jump to the ‘origin’ of the visible area |
| Click Left Mouse Button | Select a Node |
| Press Left Mouse Button on an empty area and Drag | Start a Selection Box, selecting all encompassed Nodes |
| Press Left Mouse Button on a node and Drag | Drag or translate the selected node or nodes |
| Press Left Mouse Button on a node’s output port and Drag, releasing on another node’s input port | Create a connection between the two nodes by the given ports |
| Click Right Mouse Button in Empty Area | Open the Create Node Context Menu |
| Click Right Mouse Button on a Node | Open the Node Context Menu |
Create Node Context Menu
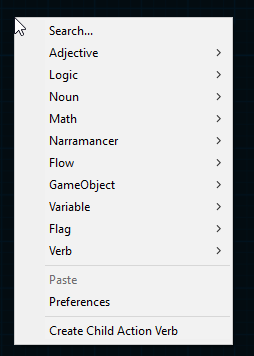
The Node Context Menu allows you to create and add new nodes to the given graph at the given position.

The Node Context Window, which creates new nodes in the given Verb.
The various possible nodes are organized by their function.
Search Nodes Window
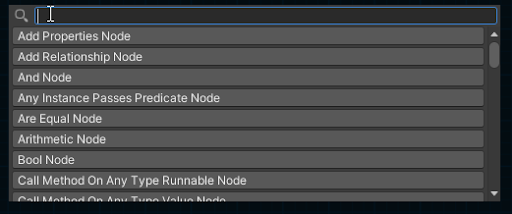
To find a given node quickly, choose the ‘Search…’ option from the Create Node Context Menu and use the Node Search Dialog to find the node by name.

A screenshot of the Node Search Window, where you can search for a specific node by typing in its name.
Creating Nodes
To add a new Node to a Verb, right-click within an empty area of the Verb Editor to open the Create Node Context Menu. From the context menu, either 'Search' for the node by name or find the node within the hierarchy.

A demonstration of creating a new node.
Selecting the node type will create the given node at the given location.
Connecting Nodes
In order to create chains of actions, you must connect them to each other.
Nodes that are ‘runnable’ have two special ports: one input port referred to as ‘This Node’ that causes the node to ‘run’ and one output port that, upon completing its own run, triggers the next runnable node to run. These special ports have triangle/arrow shapes to help differentiate them.
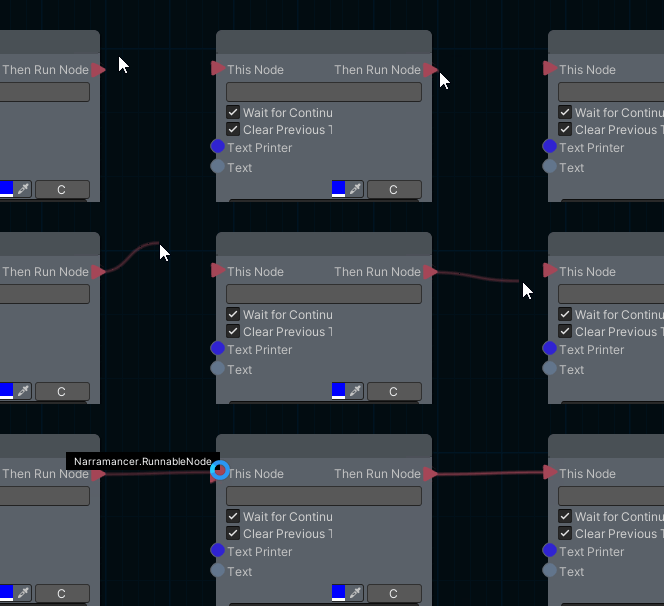
To create a chain of runnable nodes, click and drag off of the output port of the first and drop it on the input port of the second.

A demonstration of connecting two nodes.
For nodes that have input and output ports, the process of connecting them is the same. NOTE: ports can only be connected if they are of the same type.